18 How to Use Final Cut Pro – Jiaxin Yang
These instructions are designed to use the basic functions of Final Cut Pro X in order to extract files, create a project, insert files into a timeline, and export. These are the basic functions needed to make a video in a short period of time.
Downloading the Program
- Download the app from the app store. There are designations for either Mac or PC. The price is $200.
Opening the Program
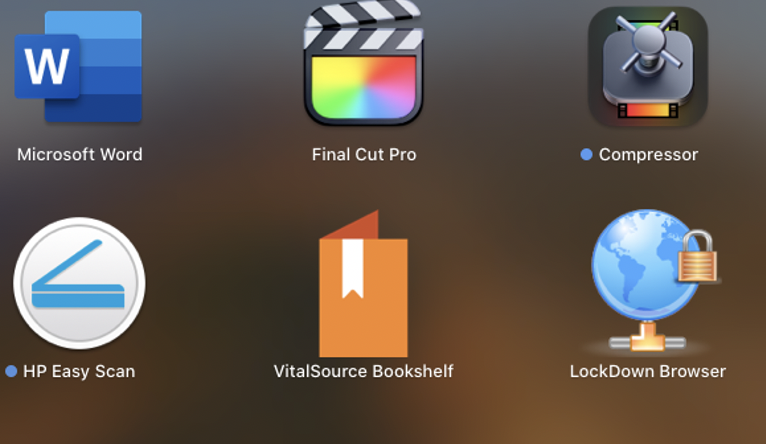
Open Final Cut Pro X from the desktop.
Setting up the Project
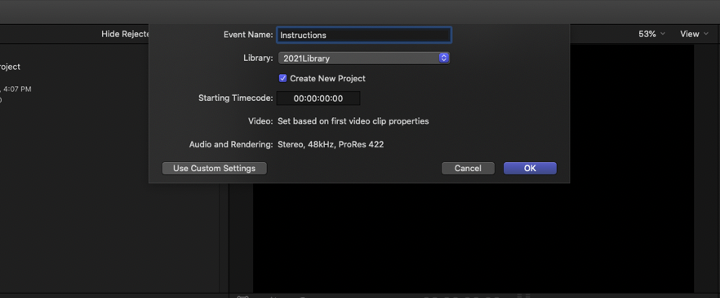
- Click File, then Click New Event.
- Name the Event
The event will appear on panel.
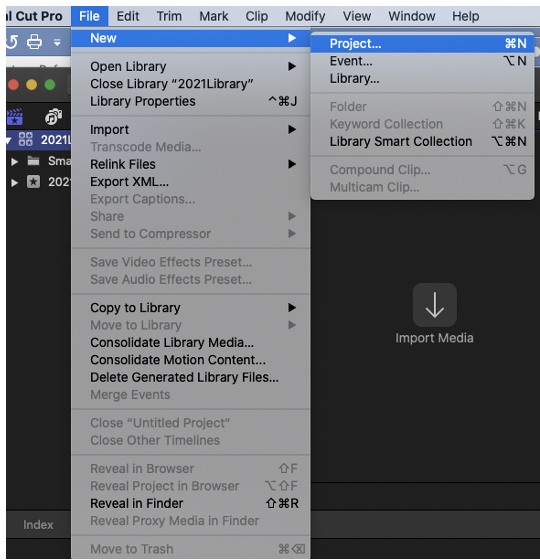
- Click File
- Click New Project
A new project will appear beside the panel.
Importing Files
Your video files are usually stored on a hard drive on your own computer. You need to transfer those files to the software program. You can choose the setting for those files or just let the program automatically define them when importing them.
- Click File –> Import –> Media.
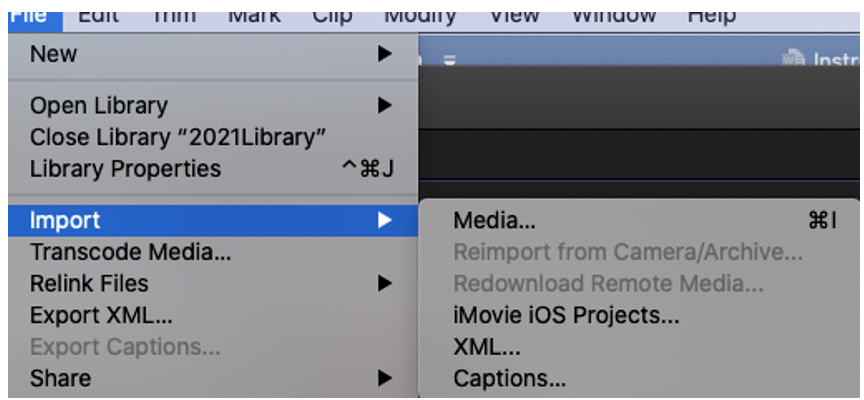
- Click on media files –> Click Import.
Editing Videos
The timeline is where most of your work will take place. It is found on the bottom half of the screen and is where you will drag videos to so you can work on the project. In the timeline, you can layer clips, fade audio, and add special effects. See further instructions for more complex tasks.
- Drag and drop video into timeline.
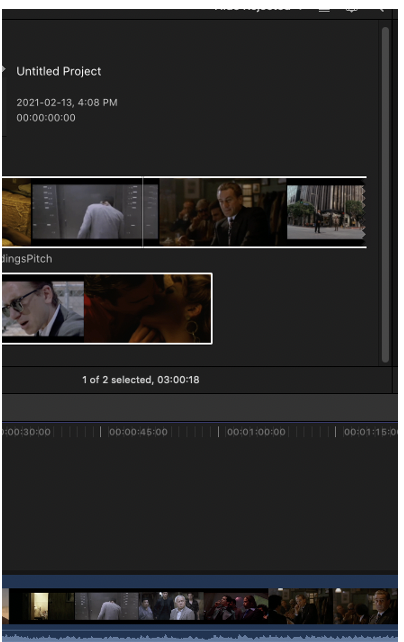
- Use ends of file to make smaller or bigger.
- Drag and drop other files to make videos follow each other.
Exporting Videos
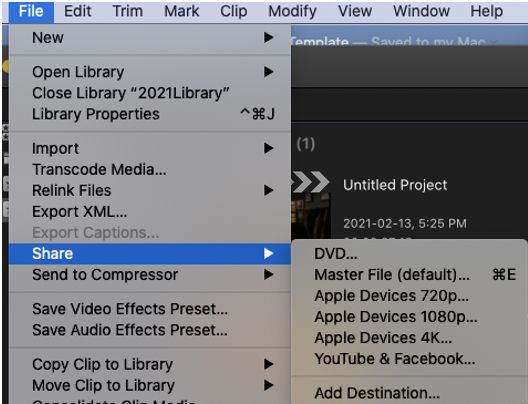
In exporting video, there are different formats that you can choose. There are formats for video sharing services such as Vimeo and YouTube. These are labelled. For more specific settings you might have to download a codec or other program found on the app store.
- Click File Share Choose export settings.
