6 How To Make a Buddha Statue – Phu Loc Pham
“Mindfulness” is becoming popular practice in the Western world nowadays, especially during the Covid 19 Pandemic, when people have a chance to witness the impermanent character of life. Being aware of the present moment and live with inner peace can bring joy and true happiness not only for ourselves but also for people around us.
As a mindfulness practitioner, besides sitting meditation, I always remind myself the be mindful and aware of everything that happens in my daily life. I have learned about Buddism and the philosophy of finding inner peace for oneself and the world. If someones can find their inner peace, they can bring peace to other people to help them overcome their sufferings. Like Siddharth Gautama, popularly known as the Buddha, who resigned from his throne and travelled to find the method for attaining the end of suffering not only for him but also for the world. He has found the Noble Eightfold Path and bring peace to an uncounted number of people and other species. Until today, after about 3000 years, looking at the image of the Buddha sitting mediation with a calmly smile still can bring joy and peace to many people.

Figure 1 – Buddha Statue
Having a Buddha statue in your house can help bring peace and joy to the people in that space. Besides, the image of the Buddha can remind us to be mindful and aware of everything surrounding us. Sometimes, we are lost in thoughts. Taking a deep breath and going back inside our minds will help us release the stress and anxiety immediately. I would recommend everyone to listen to Zen Master Thich Nhat Hanh, a global spiritual leader, who has shared a lot of Buhhda teachings that help people overcome their most difficult times in life.
Recognizing the peace from the Buddha image, my brother and I have done some researches and learned how to make simple statues from materials that can be found easily. Today I will share with you the process of making a small-size Buddha Statue by molding and casting technique. I have practised this technique for several months and created more than 100 Buddha statues in different sizes. All of the statues are being given to other mindfulness practitioners or donated to Temples and Monasteries.
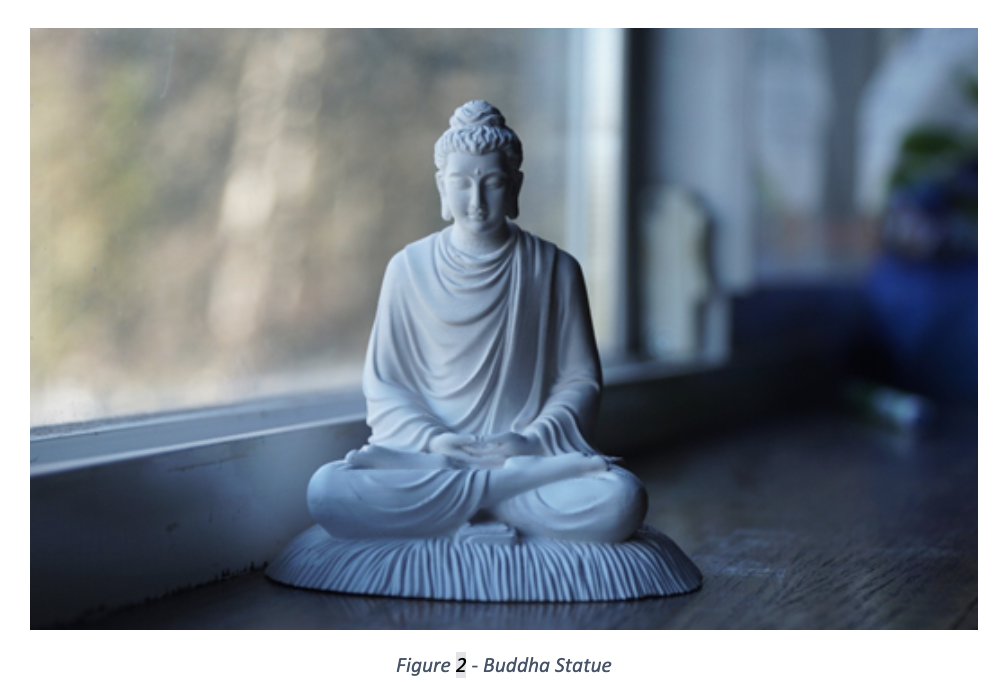
Figure 2 – Buddha Statue
The whole process can be divided into 4 main steps:
Step 1: Prepare the materials and equipments.
- Materials
The main material for the statue is plaster powders. You can find many types and brands of plaster used for casting decorative elements in Home Depot, Lowes, or any building materials shops. Some of the brands that I used are Plaster of Paris, Scola-cast powder, and Scene Arama Casting Plaster.
The second material is silicon rubber used for creating the mold for the statue. You can buy the Silicon mold making kit from Amazon or specialty shops selling molding and casting materials. As currenly living in British Columbia, I usually buy the silicon rubber from Coast Fiber-Tek Products LTD located in Burnaby.
The third necessary material is spackling used for filling holes on plaster or drywalls. This material can be found in Home Depot or any building material store. Personally, I like to use DryDex Spackling as it is easy to find and inexpensive.
- Tools and Equipment
- Popsicle stick
- Small Digital Scale
- Measuring cups
Step 2: Find the model of statue.
In order to make a statue by molding and casting, you need an actual statue as the model. There are many ways to have a model. For this instruction, I would like to present the three most popular techniques.
The easiest way is to buy an actual statue and used it as the model. Many places sell Buddha statues online and offline. Moreover, there are many Buddhism communities centers such as monasteries or temples that sell or give away beautiful Buddha statues for decoration worship. For my statue model, you can find it at Chan Nguyen Monastery located in Langley. Visitors can come and ask for this statue model for free or contribute a small amount of money as donations for the monastery.
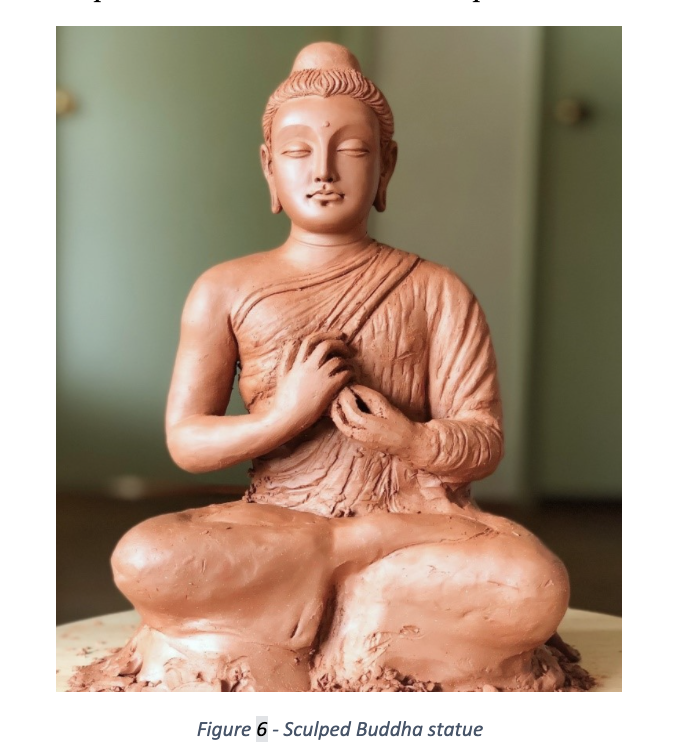
The second way to have a model is sculpting from clay. This technique requires a lot of skills and knowledge. However, if you are interested in art and sculpture, this could be an interesting and fun experience. The picture below is an example of sculpting clay into a Buddha statue model. This model is in the forming process by a monk, whose Buddha name is Phap Hoan, living in the City of Vancouver. According to master Phap Hoan, Buddha’s Sculpting clay technique requires a high degree of concentration and mindfulness because the emotional state of the sculptor will reflect into the facial expression of the statue.
The third technique is 3D printing a Buddha statue model. This is the technique that I used for my statues. The original model was created by a traditional Buhhda sculptor from Vietnam. He used a 3D scanning machine to transform the statue into a 3D file. The file is transferable via Email and editable with 3D design software. Therefore, the model can be printed into different sizes without affecting the quality. Some of 3D print software are Ultimaker Cura, Meshmixer, and PrisaSliser.
Moreover, you can find many other Buddha statue available online on websites such as Thingiverse, CGTrader, and Sketchfab.
After having the file, you can print the 3D model with a 3D printer. I’m currently using Creativity CR10-V2 for printing 3D. The input material is Filament 0.75 mm which can be easily found on Amazon website. The printing time would be about 30 hours for a 3-inches height Buddha statue.
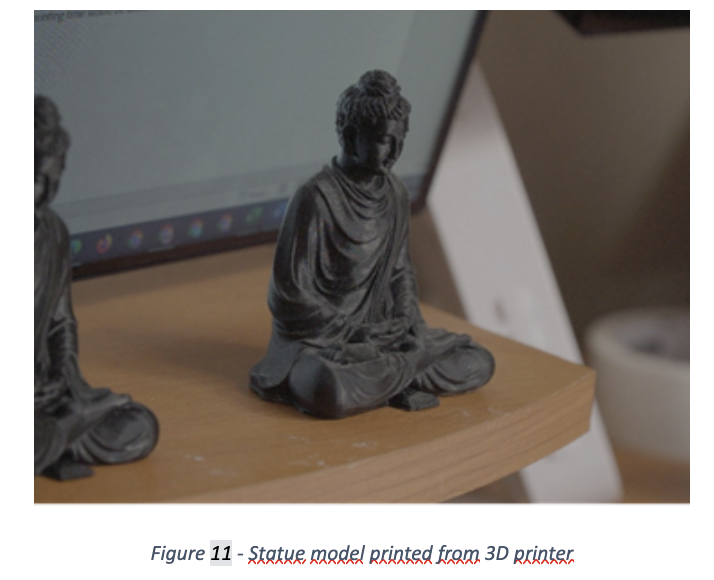
Figure 11 – Statue model printed from 3D printer
Step 3: Making mold for the statue.
After having the model, we will use silicon rubber to make the mold for the statue. The silicon rubber kit includes two kinds of chemicals with a specific mix ratio. Make sure you follow the instruction and mix two parts of the silicon correctly. As the silicon rubbers are made of chemicals, you need to wear a face mask and gloves when making the mold for the statue.
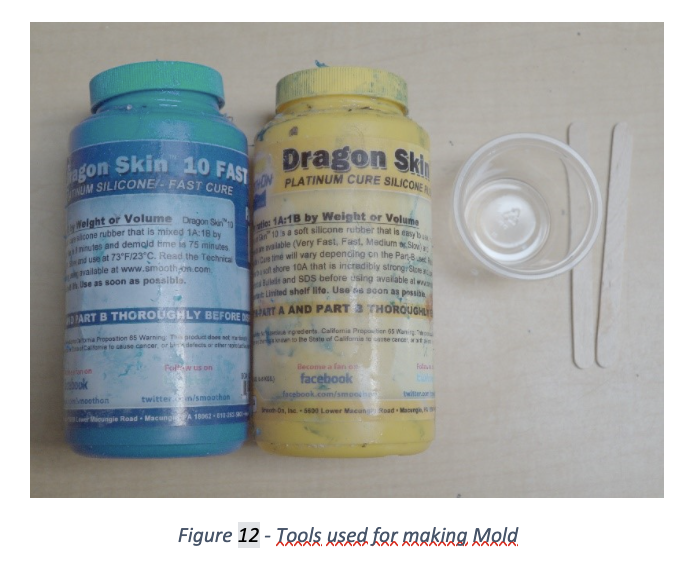
Figure 12 – Tools used for making Mold
Use a popsicle stick to cover the silicone around the statue. Make sure to cover all the small details of the model. Each kind of silicone rubber would have a specific cure time described in the instruction. Personally, I often use Smooth-Cast 57D Semi-rigid plastic. The mix ratio is 1:1. Cure time is 60 minutes.
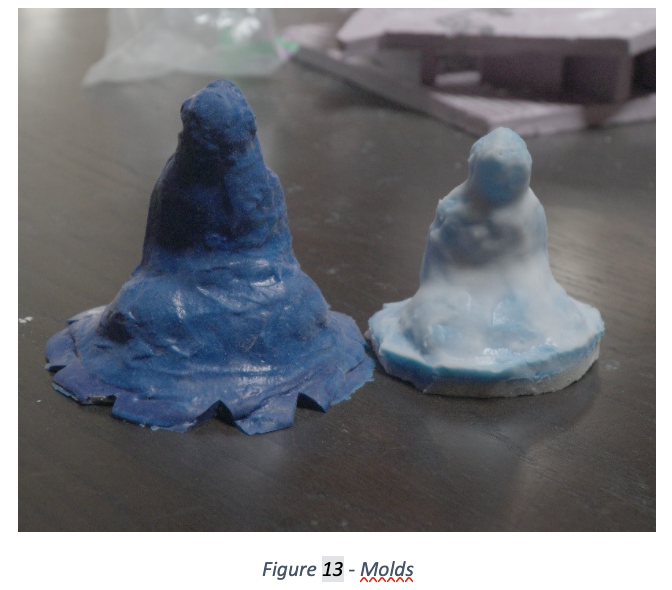
Figure 13 – Molds
Step 4: Making the mold support.
As silicon rubber is soft, we will need a support case for it. Mix the plaster powder with water as a ratio of 1:1. Pour the mixture in a cup with the statue covered by silicon rubber inside. Wait for about 90 minutes for the plaster to dry. Lightly take out the statue, mold, and mold support apart.
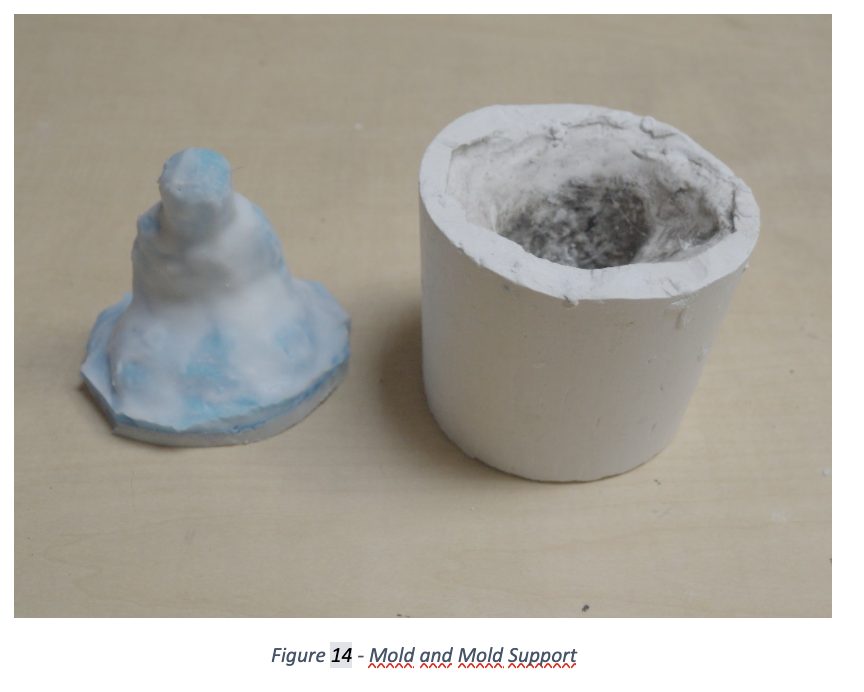
Figure 14 – Mold and Mold Support
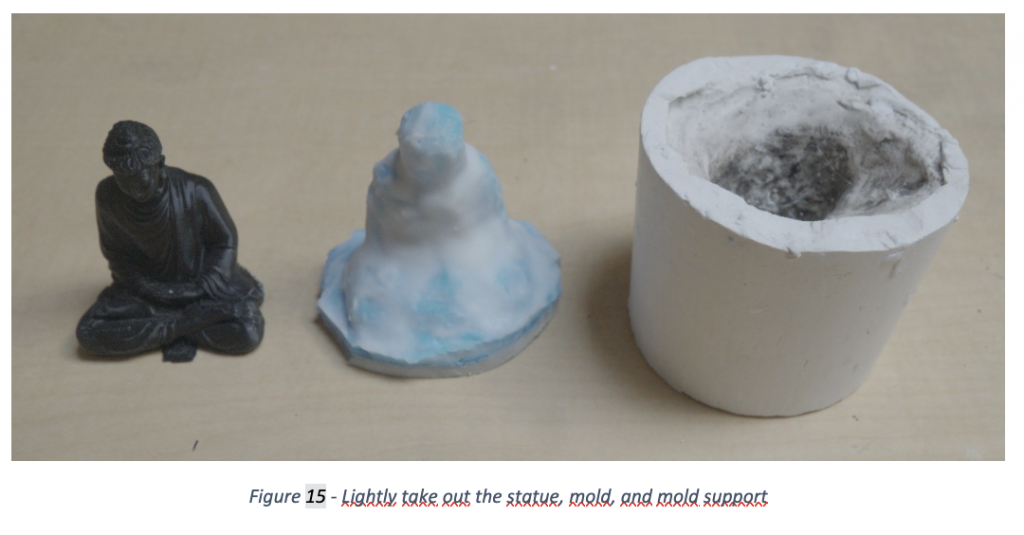
Figure 15 – Lightly take out the statue, mold, and mold support
Step 5: Make the statue by plaster with mold.
Prepare a mixture of plaster powder and water with a ratio 1:1. You can use a digital scale to weigh the material as 70-gram plaster and 100-gram water.
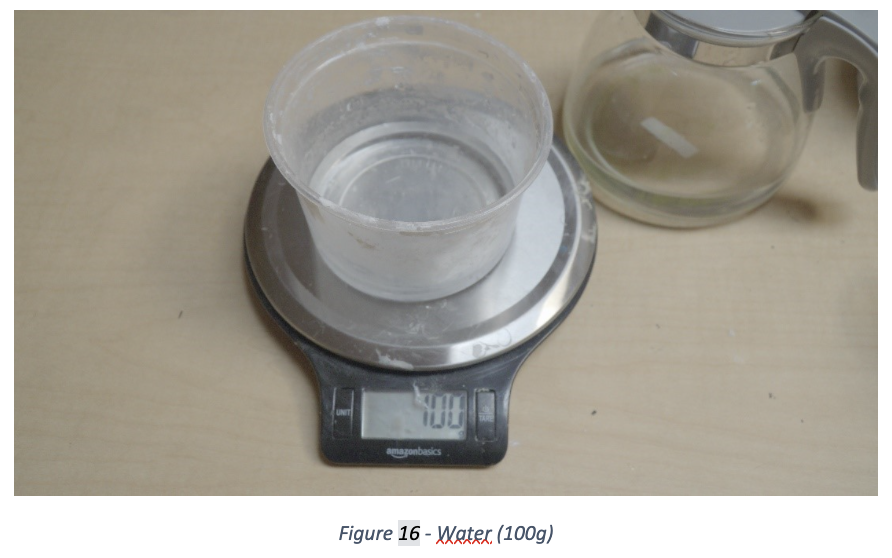
Figure 16 – Water (100g)
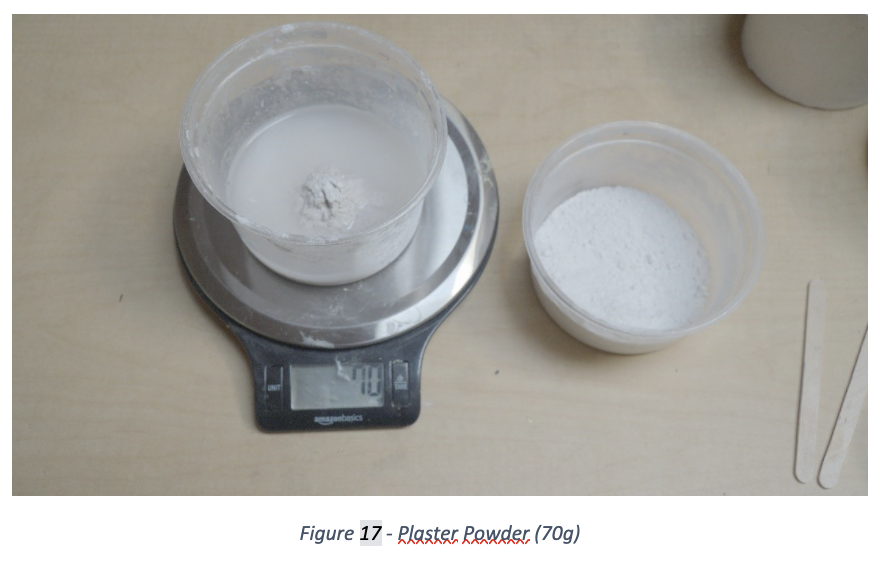
Figure 17 – Plaster Powder (70g)
Use hand to slightly blend the mixture. It is important to use your hand because it will reduce the air bubbles in the mixture. If we use a sticky or blender, the combination will have a lot of air bubbles which lead to holes on the surface of the statue.
Pour half of the mixture into the mould covered by the support case. You should pour slowly to avoid air bubbles. Use one finger to massage inside silicon rubber in order to push the plaster into a small conner of the rubber. Pour another half of the plaster into the mold and wait for 90 minutes.
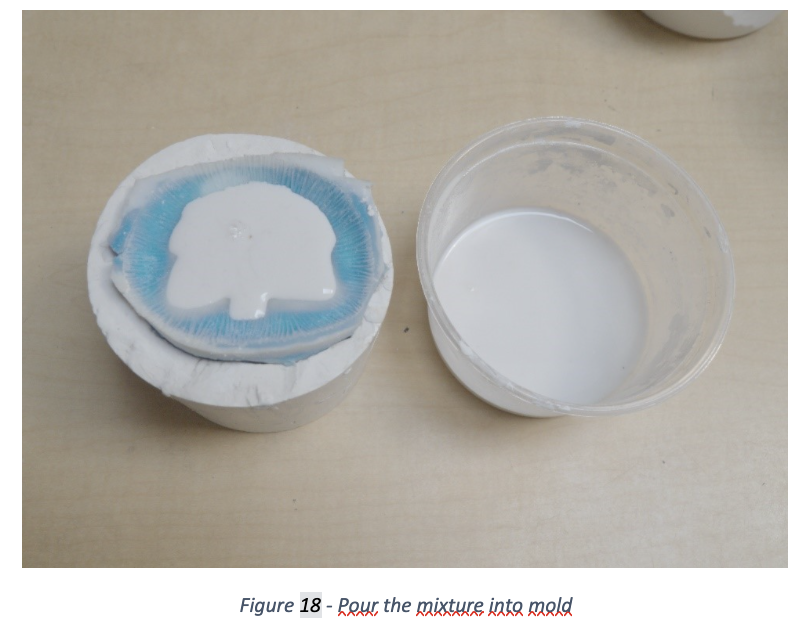
Figure 18 – Pour the mixture into mold
Step 6: Pull statue out of the mold.
After 90 minutes, the plaster mixed with water will be fully cured. You can slowly pull the statue out of the case and mold. Some small details of statue such as nose, ears, fingers are very fragile. Therefore, make sure you pull the statue out carefully to avoid damages.
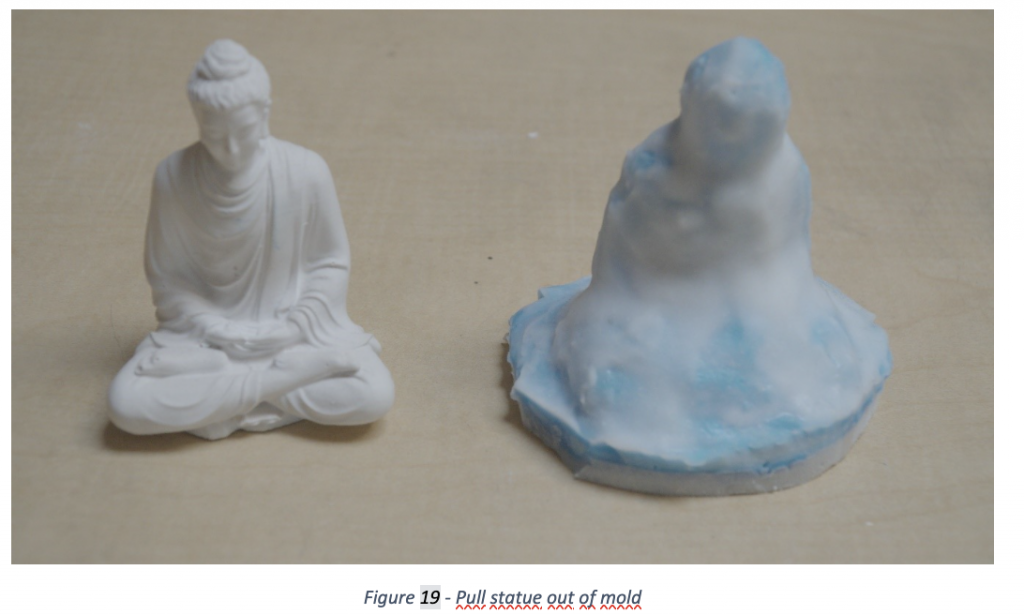
Figure 19 – Pull statue out of mold
Step 7: Fill missing part and rub the unnecessary parts.
Use sculpting tools, small brushes to clean the statue and sand the small extra pieces around the statue. If there are missing holes caused by air bubbles, you can use the spackling to fill and wait about 20 minutes until dry.
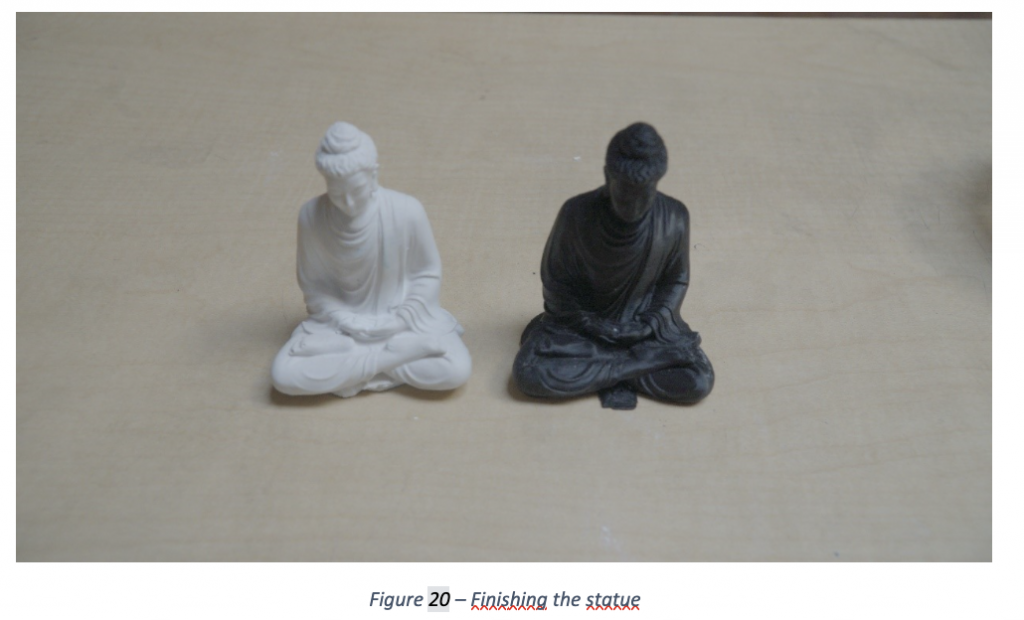
Figure 20 – Finishing the statue
Done! Now you have a nice and beauty statue. Now you can use spray paint or coating for color or protection.
